
Foreword
I take a dozen screenshots on a busy day. Sharing query results, writing how-to tutorials, pointing out a mistake, or making memes. Plain Print Screen and Paint got old fast. None of the tools I've tried over the years was as good as Greenshot (download), and here's why.
Taking the picture
It's never been easier. Everyone knows to use the Print Screen button to take a screenshot of the whole screen or, along with the Alt modifier, just the current window. Greenshot takes it one step further.
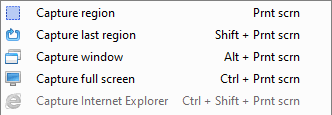
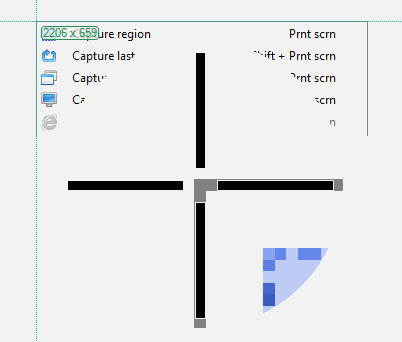
The Capture region option comes with a handy zoom and reticle that helps with precise pixel selection. You also get the window size tooltip.
The Capture last region is also helpful. For example, sometimes, you take the perfect size screenshot only to notice you accidentally captured a bit of a tooltip. With this, you move the mouse and re-grab the same region.
It also helps capture the SSMS Grid results or Execution plans when you can rerun the query and capture the same region.
Instructions unclear
I rarely send a picture without context. Usually, it has some text, highlights, arrows, etc.
Here's an example showcasing my favourite options.
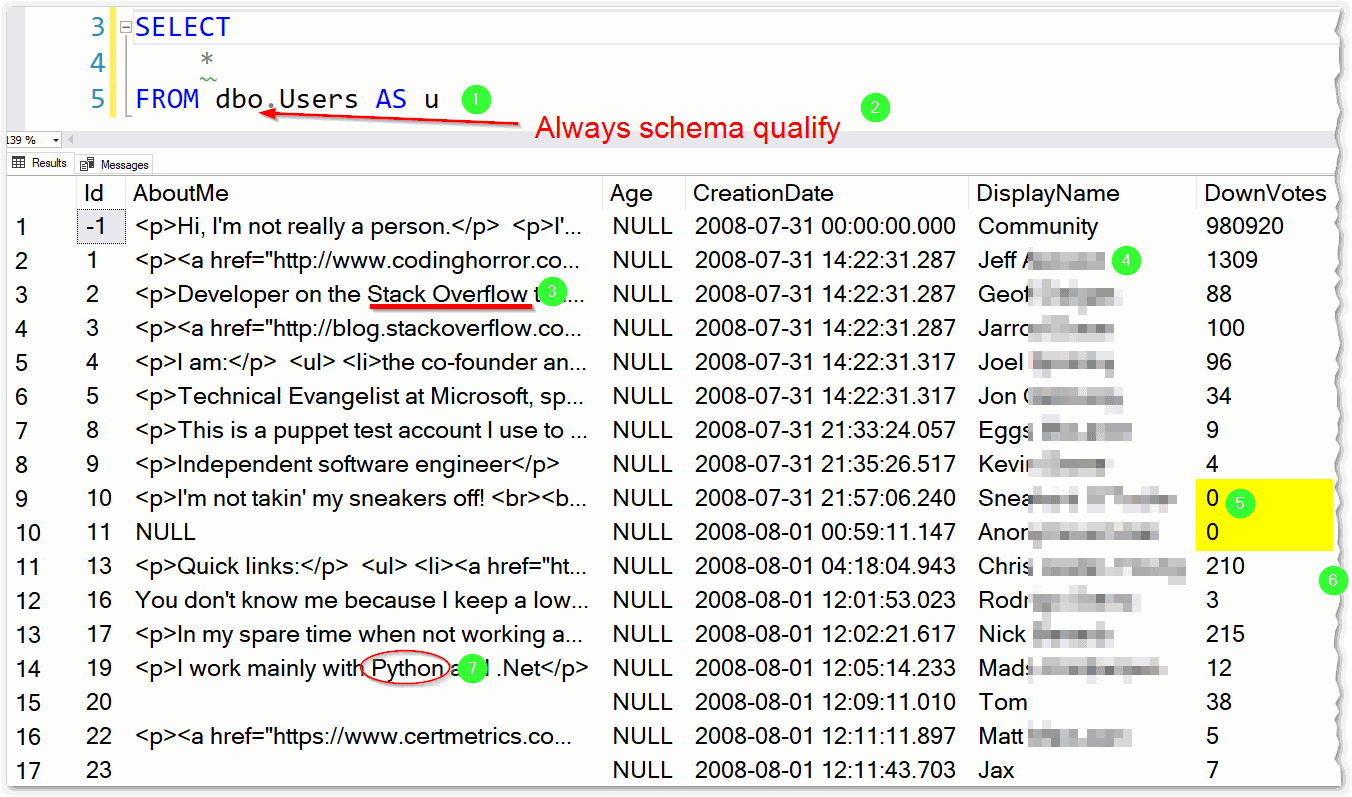
The great thing about all of those is that they are objects. So after creating them, you can switch to the selection tool and move them around or transform them, unlike MS Paint, where you have to undo and try again.
- The green bubbles with numbers in them are called counters. Very useful if you want to point out the order of operations or refer to them in text like here. Sadly you can have only one counter sequence per image.
- 1 Drag and drop arrow. You can choose whether you want the pointer at the start, end, both or none.
- 2 Text along with the typical text settings. No surprises there.
- 3 Underline. I wish I could make it squiggly, but alas.
- 4 Obfuscation. One of my most used features. You can pick a pixel size and hide sensitive data.
- 5
Highlight. It has several modes:
- Highlight text - in the screenshot. You can pick a highlight colour.
- Highlight area - everything but the area is out of focus.
- Greyscale - everything but the area is turned grey.
- Magnify - the selected area is zoomed over surrounding text.
- 6 Torn edge. You have to right-click the tool and select which edge you want to be torn. Implies there would be more data that didn't fit the screen.
- 7 Shapes - like you would expect in any editor.
The hotkeys for these tools are intuitive and can be easily discovered from the sidebar. But don't forget to right-click each tool to find its hidden settings.
Sharing is caring
Unless you want the picture idling on your computer, you'll probably want to share it. Again, Greenshot has got your back with several options.
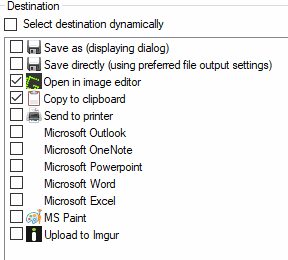
I usually open it in the editor and copy it to the clipboard (so I can paste it into Teams or Slack). For some edits, I still use MS Paint.
You can also set it up to save to a default folder so you never lose a screenshot.
The downside
Only one comes to mind over the years of using the tool. I cannot easily combine multiple pictures.
You can resize the canvas, but I haven't found a cut or selection tool to move the background picture.
I usually use MS Paint for the large canvas and copy-paste the edited pictures from Greenshot.
I think it's just a minor inconvenience that the rest of the toolset more than makes up for.
Anyway, I hope you've found this write-up useful, and you'll give the tool a shot.
Thank you for reading